Aircraft maintenance: Tips for refinishing, protecting your bird
How to clean an aircraft, part 2
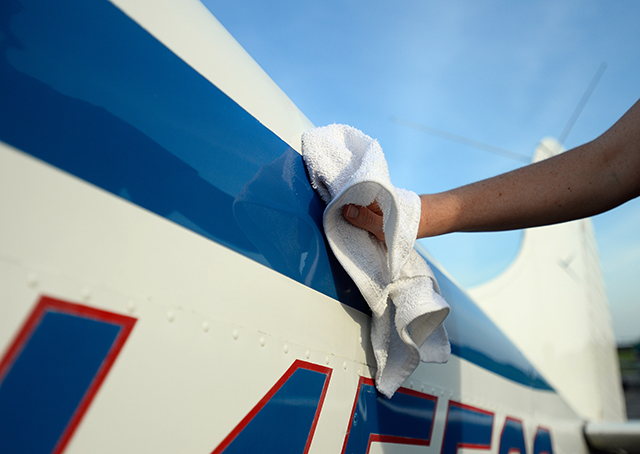
In our last segment, we discussed preparation and cleaning of the aircraft’s exterior surface. This time, let’s focus on what we can do with that clean slate we now have to work with.
Refinishing
 Depending on the condition of the paint, you may want to remove the oxidation and stained paint that lies close to the surface of the paint layer. This is, by design, a destructive process of literally removing some of the protective coating of your aircraft. Therefore, it pays to carefully consider the need and only remove as much material as absolutely necessary.
There are a variety of products that can be used to remove oxidation and the uppermost layer of paint. The safest approach is always to start with the least invasive product and see if that achieves the results you are looking for. If not, you can go one step at a time until you reach the level required for the situation. Regardless of where you end up on the spectrum, you will have to work backward through all of the steps/products in succession from harshest to mildest to regain the luster (once you have removed the offending layer).
Let’s review some common products, beginning with the mildest and progressing to the most aggressive.
The most benign products are not abrasive in nature, but are mainly cleaners. There are a variety of cleaner/polishes on the market that can help remove stains as part of the polishing/coating process. There are several available through aviation products stores, and it is important to use ones specifically designed for aircraft because the waxes and cleaners in the automotive section of your local Walmart are not designed for the materials and environment of aircraft.
Next down the list is the first level of purely abrasive compounds. My personal choice is a product called “Finesse-it” from 3M. This is a fairly mild compound that does an excellent job of removing oxidation and stains without removing too much underlying material. Keep in mind that the end result is entirely unprotected paint, so it is critical to add a protective coating following this step.
The next, and in my opinion the harshest level you should ever use, is a product called “Perfect it” from 3M. This is more aggressive than the “Finesse-it” and you will have to work your way back up through “Finesse-it” in order to get back to a perfectly glossy finish. However, severe cases of oxidation sometimes call for this level of work as long as the underlying paint is thick enough and strong enough to support the work while still leaving a strong remaining surface.
Protecting
Once you have the surface condition you want, you need to protect it. As stated earlier, it is very important to avoid traditional automotive polishes for use on aircraft. In addition to the need to use something that will withstand the aircraft environment, you don’t want to introduce issues that may cause problems for you down the road.
In particular, silicone based compounds can cause serious problems with future paint touch ups or repainting. I’ve seen a lot of issues with “fish eye” when trying to complete touch up repairs on aircraft that have had silicone products used on them. There are ways to get past it, but it’s not easy. It’s much better to avoid the problem from the start.
As aircraft polishes and protectants have evolved, most manufacturers have moved away from waxes and toward advanced polymers and acrylic resins. Waxes will protect the paint. However, they tend to absorb dirt, discolor over time, and simply don’t last very long. The newer compounds perform much better in harsh aviation environments.
REJEX is one of these advanced coatings, and I’ve had very good results with it. It is a polymer coating designed to provide a smooth, protective surface that can prevent stains and keep contaminants such as bugs, sap, oil, and bird droppings from sticking to your aircraft’s finish. One of the best advantages is that it lasts as long as six months between applications; much longer than any wax product.
Keeping your aircraft’s exterior in top condition is no simple feat, especially if your aircraft lives outside in the elements. However, a good refinishing job and an ongoing regimen of washing and protecting can keep your aircraft’s paint in top condition. With a little elbow grease, the next time you fly for that burger, heads will be turning toward your airplane, instead of away from it.
Next time, we will discuss the remaining aircraft cleaning items, including the engine and the interior. Until then, happy flying!
Interested in aircraft maintenance? View the archives of Jeff Simon's Aircraft Maintenance series.
![]() Jeff Simon is an A&P mechanic, pilot, and aircraft owner. He has spent the last 14 years promoting owner-assisted aircraft maintenance as a columnist for several major aviation publications and through his how-to DVD series: The Educated Owner. Jeff is also the creator of SocialFlight, the free mobile app and website that maps over 20,000 aviation events, airport restaurants, and educational aviation videos, including many how-to videos for the subjects of these articles. Free apps are available for iPhone, iPad and Android, and on the Web at www.SocialFlight.com.
Jeff Simon is an A&P mechanic, pilot, and aircraft owner. He has spent the last 14 years promoting owner-assisted aircraft maintenance as a columnist for several major aviation publications and through his how-to DVD series: The Educated Owner. Jeff is also the creator of SocialFlight, the free mobile app and website that maps over 20,000 aviation events, airport restaurants, and educational aviation videos, including many how-to videos for the subjects of these articles. Free apps are available for iPhone, iPad and Android, and on the Web at www.SocialFlight.com.