P&E/Ownership: No screw left behind
Learning about your airplane through an owner-assisted annual
Since purchasing my airplane in 2010, my routine for the annual inspection goes like this: Gather up logbooks, note any squawks, hand over logs and key to A&P, cross fingers, write a check.
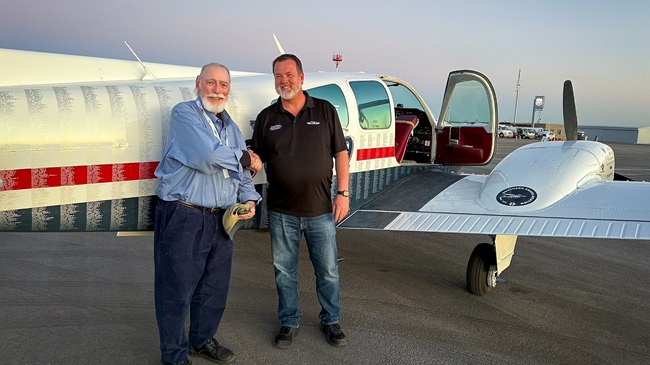
I knew about owner-assisted annuals, but it had not occurred to me to do one—any more than it would have occurred to me to take my car to a local garage and ask to help out with a tune-up. The proverbial light bulb went off one afternoon when my longtime CFII, Dean Durbin, handed me a new business card. “Annual inspections” was on the list of his services. I had known Durbin is an airframe and powerplant mechanic with inspection authorization privileges; he maintains aircraft at Andrews Air Force Base. Would he be up for an owner-assisted annual?
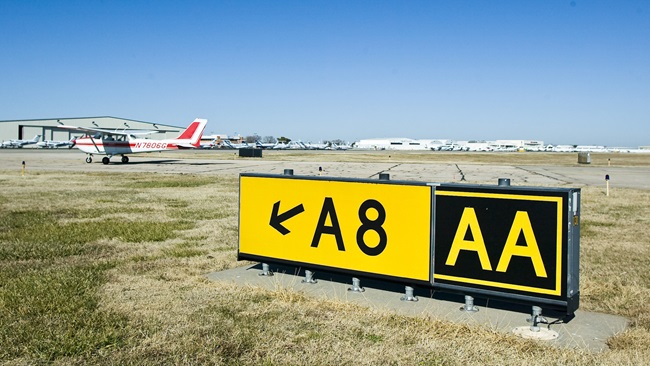
He was. So I flew my 1964 Piper Cherokee 140 to Carroll County Regional Airport in Westminster, Maryland, and taxied to a huge corporate hangar. A spacious corner was waiting. The hangar normally houses trainers that belong to Dream Flight School, so many thanks to owner Jeremy Etzkorn for providing such a nice workspace.
A compression check on the still-warm Lycoming engine revealed good numbers—78/80, 74/80, 78/80, and 78/80—and then we really got into the innards. Off came the wheel pants, spinner, upper and lower cowling, wing tips, and tail cone. Out came the front seats. Up went the airplane on jacks. Assigned to remove screws and washers, I was careful to place each one in its proper tray. I didn’t want to end up with spares.
As Durbin explained, the inspection procedure is broken down into nine major groups: propeller, engine, cabin, fuselage/empennage, wing, landing gear, float (not applicable to my airplane), operational inspection, and general. The IA follows a model-specific checklist. I can’t perform any part of the inspection, of course, but as an owner I can assist with the maintenance under an A&P’s supervision.
It’s a weird feeling seeing your airplane in pieces, even when the pieces are neatly laid out for inspection. Another uncomfortable realization: The front seats are held in place with just two screws and one retainer at the end of each seat track.
Setting the seats on the floor, I looked them over and realized the foam rubber inside is probably 30 years old and hard as a rock. The thought of an upgrade was a fleeting notion, though—I’d recently spent a chunk of money on an avionics upgrade.
Poor piloting technique caught up with me when Durbin removed the spark plugs to inspect and clean them. He showed me the lead deposits, telltale signs that I hadn’t been leaning properly, and used an engraver—an electric toothbrush-like gadget—to remove the dust and fragments. I had been running the engine too rich and resolved to write “LEAN” in giant letters on my checklist.
Not sure how to walk the fine line between helping out and getting in the way, I opted to let Durbin direct me. Turns out there was plenty for me to do. I helped bleed the brake lines; cleaned parts of the nosewheel assembly; helped reinstall the nosewheel; and even got to torque two of the spark plugs using a torque wrench that beeped and flashed a LED display when you reached proper torque value. I cleaned the wheel pants and upper and lower cowlings. Meanwhile, Durbin moved efficiently through what seemed like dozens of tasks. An uncomplicated annual can take from 12 to 15 hours to complete, he said.
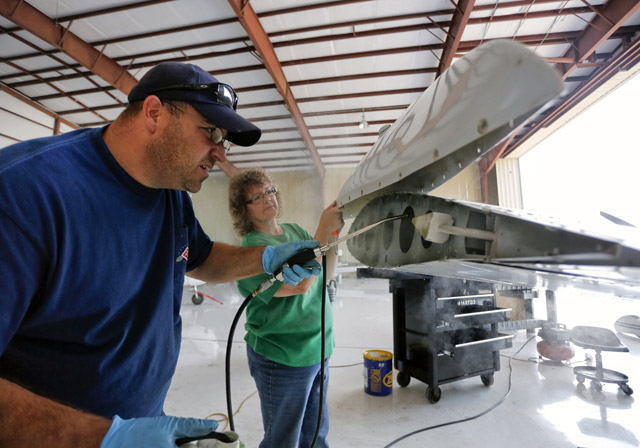
When we inspected the insides of the wings for leaks, corrosion, or damage, the left wing looked amazingly clean, while the right wing had just one or two dead insects and a small, unoccupied wasp nest. Durbin misted the insides of the wings with CorrosionX.
By late afternoon of the second day, we were ready to replace the screws on wheel pants, wing tips, and tail cone. Thankfully, I had no screws left at the end. “That’s a good thing,” Durbin said, as he checked my work.
By about 5 p.m., we were ready for a test flight. One pattern circuit indicated that everything was functioning properly. All that was left was to finish the logbook entries and tidy up our work area.
Flying home, I thought about the team of workers who assembled the Cherokee in Vero Beach, Florida, so many years ago. Did they have a clue that the airplane rolling off the assembly line would still be happily flying some 50 years later? If not, they sure built it as if they knew it would.
Email [email protected].
7 preventive maintenance items for aircraft owners
1. Rotate or replace landing gear tires
2. Switch between wheels and skis
3. Clean, gap, or replace spark plugs
4. Make minor fabric repairs
5. Replace safety belts
6. Replace landing and position light bulbs
7. Update avionics software and navigation databases
*FAR Part 43, Appendix A, paragraph C
Tips for a smooth owner-assisted annual
• Buy parts in advance? Maybe. Your shop may or may not accept owner-supplied parts, so it’s smart to ask before you start ordering.
• If planning to replace or upgrade, check to ensure that the part will be available in time for the annual.
• Check your ELT battery. Time to change it? Get the battery before you start the annual.
View a video of the author’s experience.

Jill W. Tallman
Related Articles