Cloud Class
Essential skills for the instrument pilot

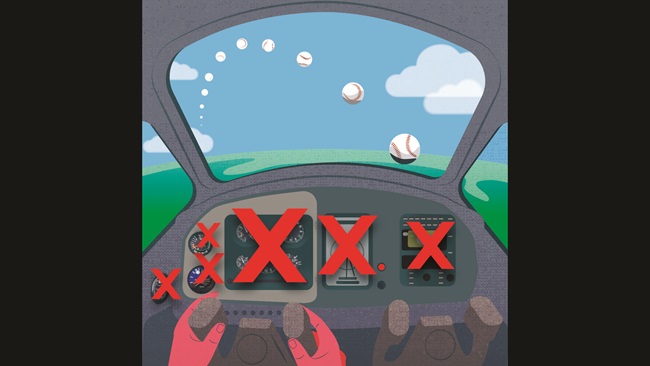
Decision-making skills for the instrument pilot
Avoiding temptation is an important learned skill.
 An instrument rating isn’t a license to blast off into any type of weather at any time. The rating expands your ability to fly when a VFR pilot can’t, but it doesn’t excuse you from understanding the ramifications of the weather you might encounter. If anything, you might become an even sharper weather watcher, lest you fly into icing conditions in an airplane that is not equipped to handle them.
So go ahead and set your weather minimums now, expanding carefully and cautiously as you gain more experience. And beware the bogeyman of get-home-itis.
“Listen to that still, small voice of reason that reminds you to back off and take another look at the situation,” said Richard L. Taylor, author of The Complete Instrument Pilot. “The temptation to press on in the face of bad weather has led many a pilot down the garden path; if you’ve worked out a Plan B to take care of nonflyable weather, you can make the decision well ahead of time, still get your business accomplished, and come back to fight another day.” —JWT
Requirements for an instrument rating
The requirements to take an instrument rating checkride are spelled out in FAR 61.65.
In addition to a knowledge test and a logbook endorsement from an authorized instructor, the regulation specifies areas of aeronautical knowledge, including air traffic control systems and procedures for instrument flight operations; aviation weather reports and forecasts; and flight proficiency in such areas as preflight preparation, air traffic control clearances and procedures, flight by reference to instruments, navigation systems, and instrument approach procedures. Some of this can be accomplished in an approved flight simulator or flight training device.
Additionally, the applicant must have logged 50 hours of cross-country flight time as pilot in command, as well as 40 hours of actual or simulated instrument time in the areas of flight proficiency.
A cross-country flight of 250 nautical miles must be conducted under air traffic control, including an instrument approach at each airport and three different kinds of approaches with the use of navigation systems. —JWT
As an instrument student, you will learn how to fly solely by reference to the airplane’s instruments, in reduced visibility or weather that would keep a VFR pilot on the ground—or stranded away from home. Your confidence will increase. Your radio communication skills will improve as you work with air traffic control when flying under instrument flight rules. Your weather know-ledge and decision-making skills also will grow exponentially (see “Decision-making Skills for the Instrument Pilot,” p. 45).
Even as a primary student pilot, you can begin laying the foundation for the instrument pilot you may eventually become. Honing these skills during your primary training will make your instrument training experience easier and more rewarding.
The basics
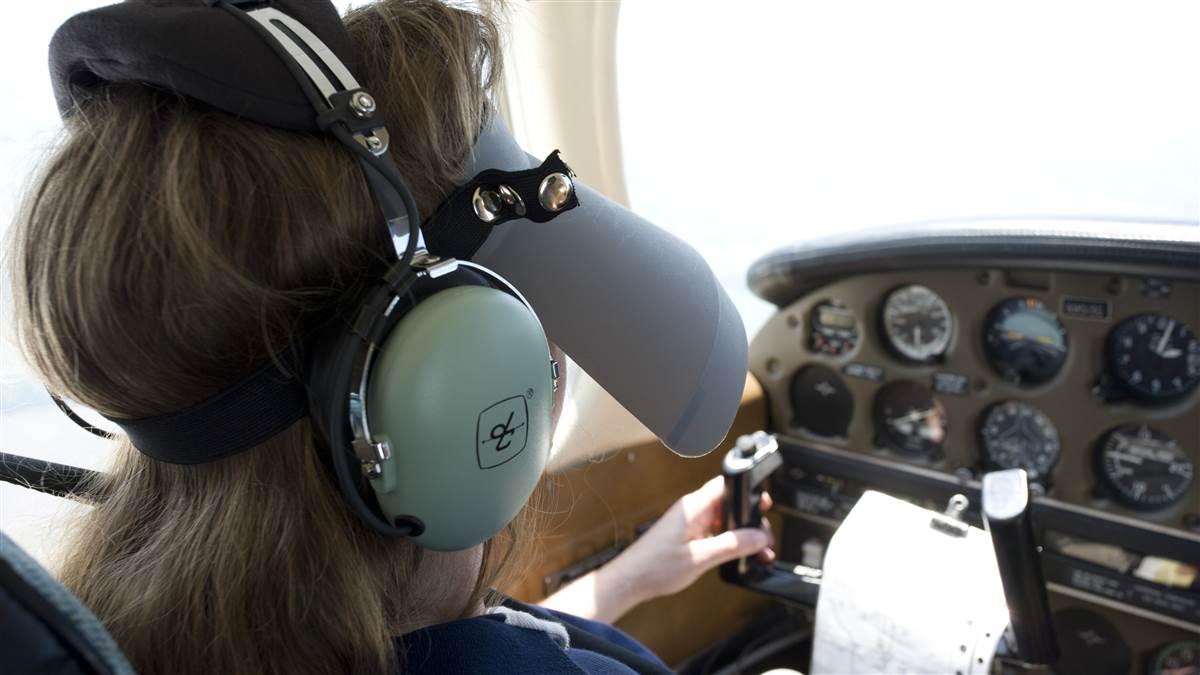
Students who are training for a private pilot certificate must receive three hours of dual flight instruction that focus on controlling and maneuvering an airplane solely by reference to instruments. Your instructor will require you to wear a view-limiting device as you learn to fly straight and level, climb, descend, turn to a heading, and more.
This introduction to instrument flying is the equivalent of dipping your toe into an Olympic-size swimming pool. Those three hours are intended only to show you how to escape if you should inadvertently fly from visual to instrument conditions. Many more hours of training will be necessary to earn an instrument rating (see “Requirements for an Instrument Rating,” p. 46).
Basic attitude instrument flying/cross-check
The three hours of instrument training you receive will give you an introduction to flying by reference to instruments. The flight instruments will tell you whether the airplane is climbing, descending, or turning.
To understand what the airplane is doing—since you can’t see any outside references—you’ll develop a method of scanning the instruments, cross-checking and interpreting what they are telling you, and adjusting accordingly.
Since the focus in private pilot training is to escape an emergency, it’s likely you’ll start your scan with the attitude indicator (AI), and then move to airspeed, heading, and altitude. An effective scan is a little more involved. The FAA’s Instrument Flying Handbook outlines different types of scans you can try:
Selected radial cross-check. Starting with the AI, your eyes move out to one of the other five instruments before moving back to the AI.
Inverted-V cross-check. Starting with the AI, your eyes move to the turn indicator, up to the AI, down to the vertical speed indicator, and back up to the AI.
Rectangular cross-check. Your eyes move across the top three instruments (the airspeed indicator, AI, and altimeter) and drop down to scan the bottom three instruments (VSI, heading indicator, and turn coordinator) in a rectangle.
When you find a scan that works for you, you’ll want to practice it. You can do this in a simulator at your flight school, or using a desktop sim at home. As you progress in your primary training, you can devote a few minutes of every lesson to going under the hood—perhaps on the way to or from the practice area.
Intercepting and tracking radials
As you learn to keep the airplane right-side up without visual references, navigating by instruments is how you’ll get from Point A to Point B.
 Instrument flight is primarily conducted over an airway system that relies on both ground-based navigational aids such as VORs and space-based navaids. The FAA’s Instrument Procedures Handbook describes airways as “three-dimensional highways for aircraft.” Routing along these airways keeps aircraft separated and clear of obstacles or terrain. VOR navigation along Victor airways is a large part of instrument navigation. Although GPS and point-to-point navigation have become commonplace, those skills won’t be helpful if an air traffic controller tells you to enter a holding pattern that consists of a radial off of a fix.
Most students can grasp the concept of tracking to a station: tune the VOR receiver, turn the omnibearing selector until the course deviation indicator needle is centered with a TO indication on the VOR, and then fly that heading. Private pilot applicants may have to demonstrate how to intercept a radial from a station during the checkride.
“But when it’s time for a VOR approach or holding pattern, you’ve got to know what the receiver is telling you, and how to orient yourself to the desired radial,” said Richard L. Taylor in his book, Instrument Flying.
Taylor said a competent instrument pilot should know how to solve four problems in everyday use of VOR:
• Determining what course will take you direct to a VOR;
• Determining your position in relation to an airway or radial;
• Identifying an intersection (or crossing a particular radial); and
• Determining a wind correction angle that will keep you on course.
Once you’ve acquired the basics of VORs (or horizontal situation indicators, if your airplane is so equipped), ask your flight instructor to dive deeper into navigating with them. A desktop simulator or an advanced flight training device at your flight school is the more cost-effective way to practice VOR navigation. You can stop and start as much as you like—something you can’t do at 3,000 feet in a real airplane. Additionally, dozens of instructional videos are available on the internet that tackle VOR navigation.
Working with air traffic control
Every instrument flight starts and ends within the ATC system. Get comfortable talking to ATC and working within the system, and you’ll be a rock star when it’s time to start your instrument training.
If you don’t fly at a towered airport, go to one as often as possible. Open a flight plan in the air, or give a pilot report. Finally, ask ATC for VFR traffic advisories (better known as flight following). This is when you request ATC to watch for other traffic in your vicinity, and provides a great exposure to radar services. You might not get your request; the controllers’ primary responsibility is to maintain separation for IFR traffic, so flight following is only available to VFR pilots as workload permits. But it’s worth the radio call.
An on-the-ground option is PilotEdge (www.pilotedge.net), a radio simulator that lets you communicate with a person who acts as an air traffic controller while you fly at home using a program such as XPlane, Microsoft Flight Simulator, or Prepar3d.

Jill W. Tallman
Related Articles