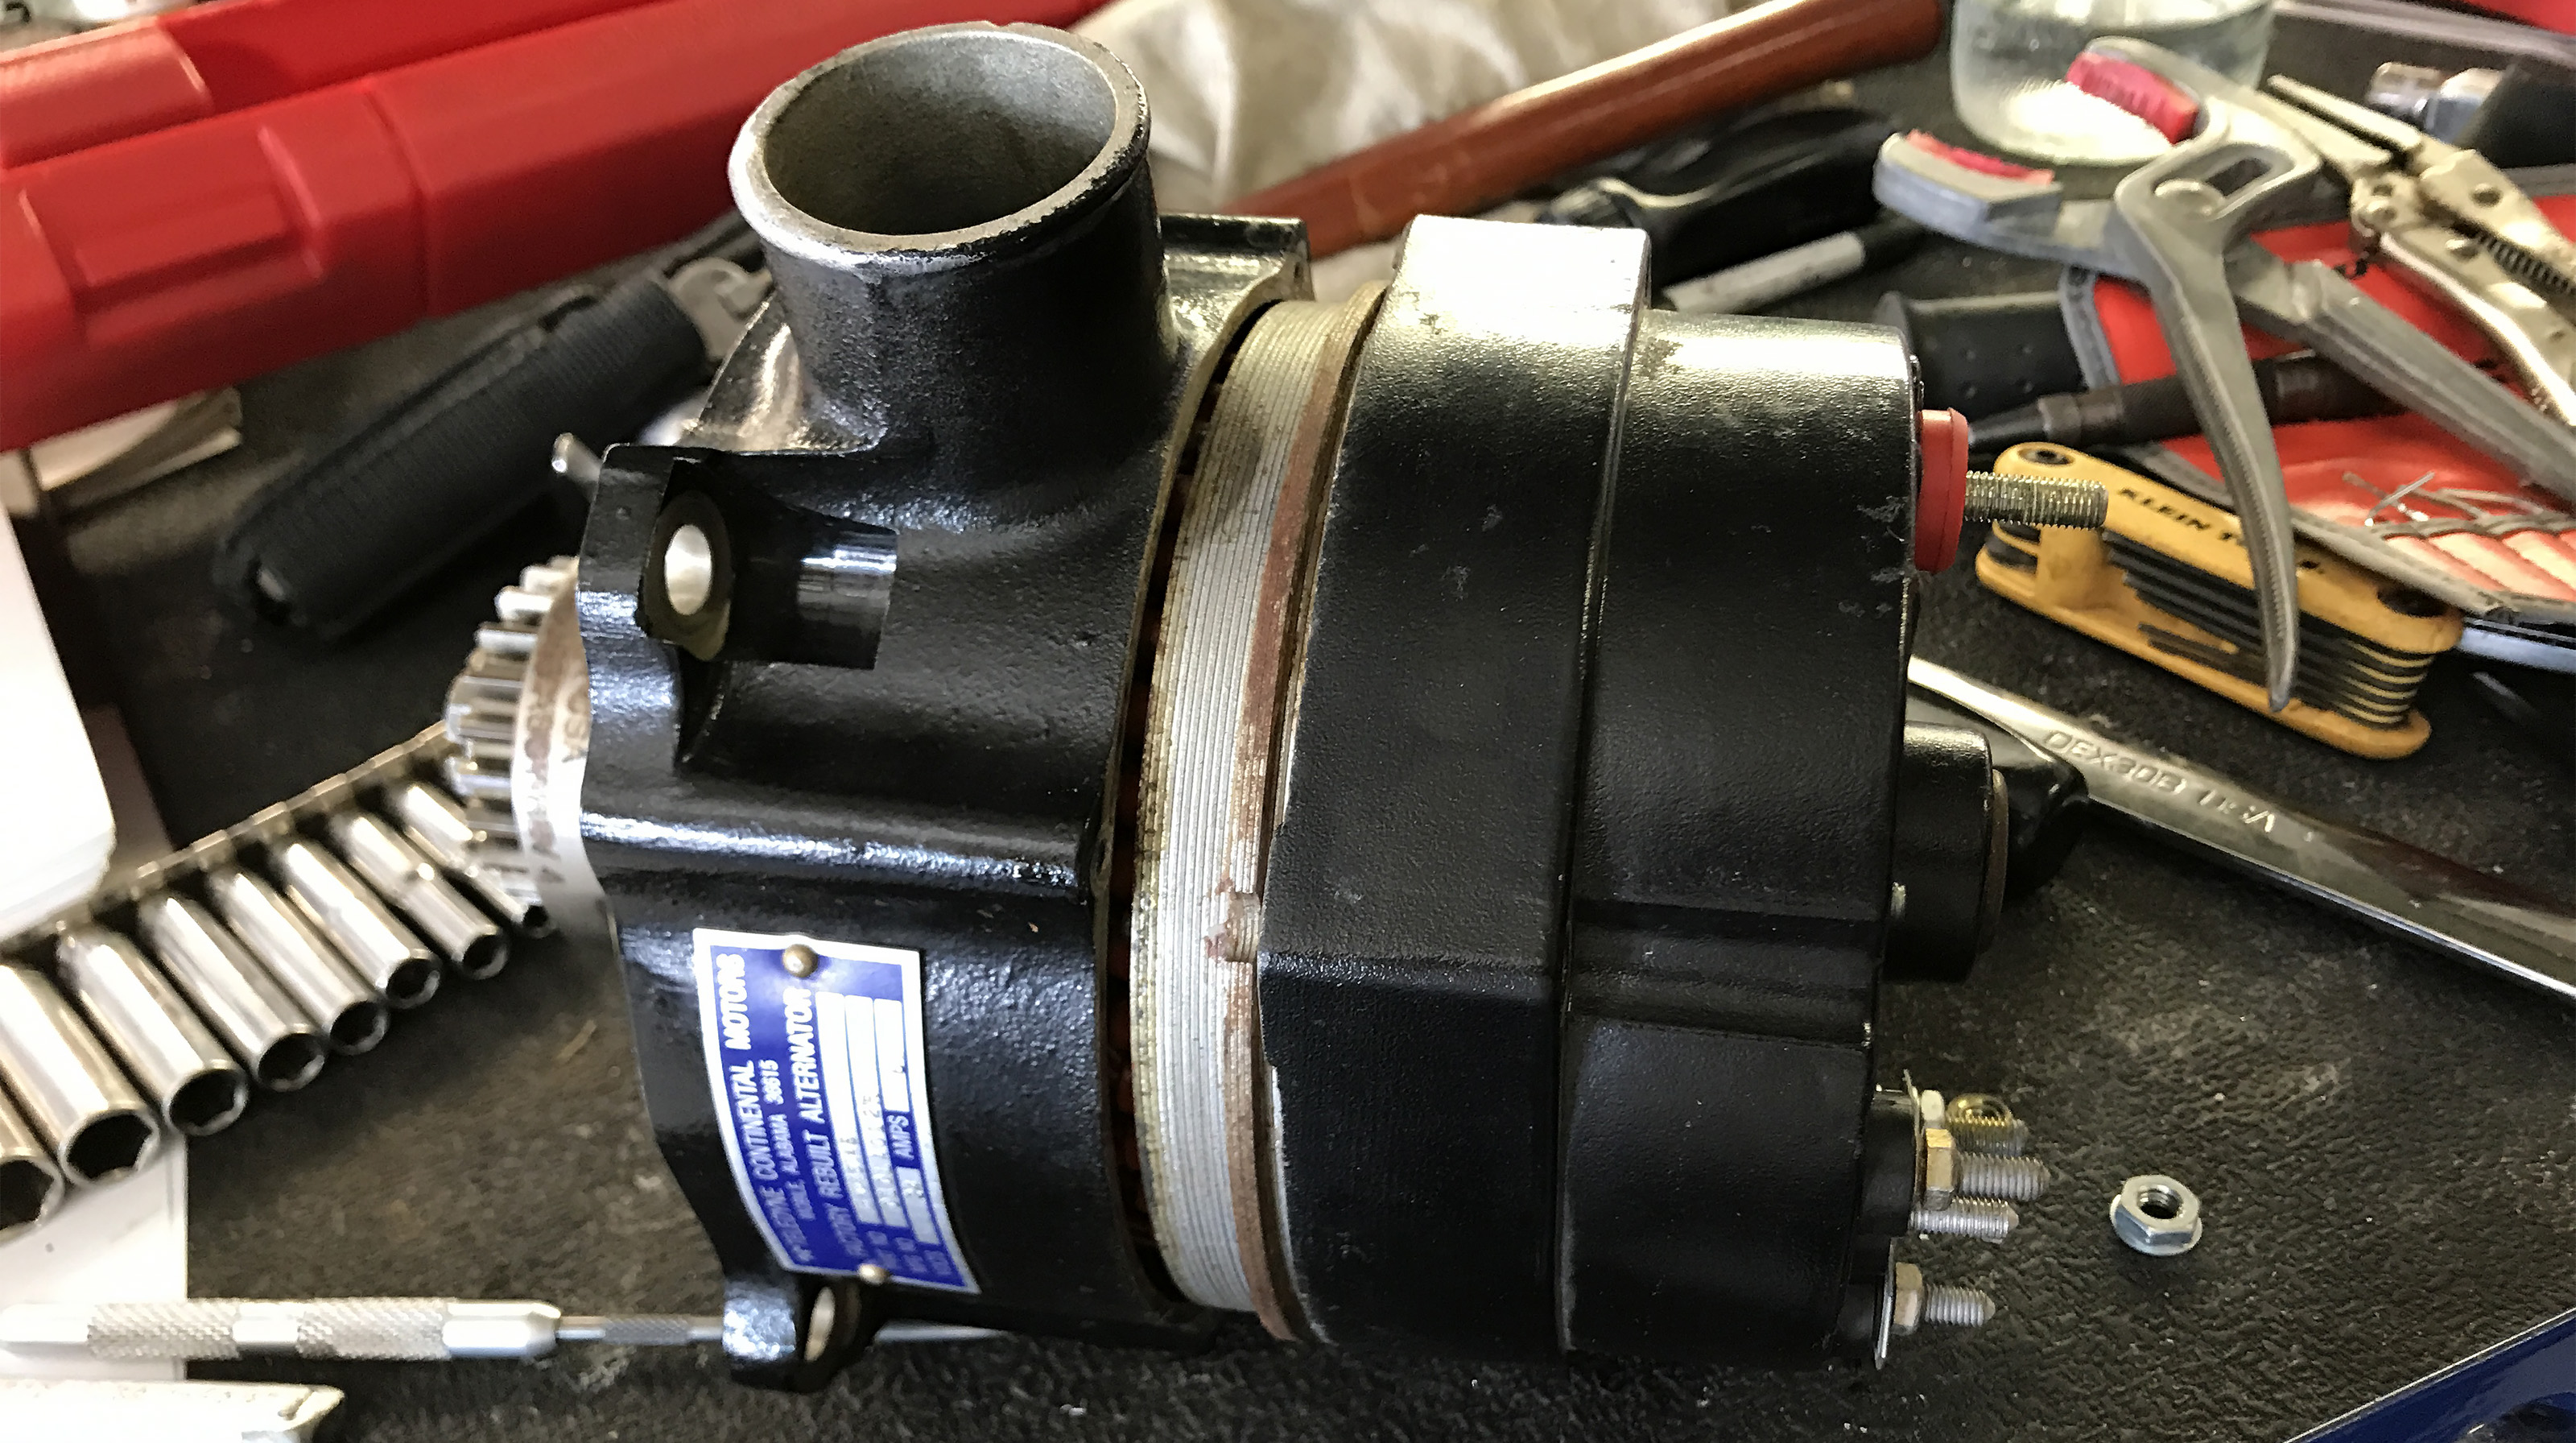
Aircraft Maintenance: Caring for your alternator
Fuel, air, and spark: Those are the three crucial ingredients to keeping our engines running and our airplanes in the air. But, if you use your aircraft for travel, especially serious travel that may include flying IFR, there’s another ingredient that’s critical in getting you to your destination—electricity.
The modern general aviation aircraft panel is a far cry from what I trained in 25 years ago. Digital nav/com radios, integrated GPS systems, multifunction flight displays, primary flight displays, Automatic Dependent Surveillance-Broadcast…the list goes on. And all of this wonderful technology relies on the power generated from the aircraft’s alternator (or generator for some older aircraft).

Inspecting the alternator begins where the alternator gets its own power: the belt. Every 100 hours or annually, the belt should be checked for condition, proper tension, and alignment of the pulleys. The wear on the contact surface of the belt is an important indicator of the alignment and tension. You should see wear primarily on the sides on the V-portion of the belt. The bottom of the V generally doesn't ride on the bottom of the pulley. It’s the sides of the belt that do most of the work. Asymmetrical wear could mean misalignment of the pulleys or that the alternator mounts have shifted or cracked. I’ve seen cracked alternator mounting brackets often enough to make them high on my list of things to inspect every time that I look over an engine. Be sure to rotate the belt through so that you can inspect the entire length. The belt should feel soft; flexible; and free of nicks, cuts, or significant wear. Belt tension should be checked at a point in between the pulleys. The aircraft's maintenance manual should include a procedure for checking and setting the proper tension.
Moving to the alternator itself, inspect the electrical connections, including the capacitor if equipped. All wires should be secure and free of abrasions. In-flight electrical failures are frequently caused by a failure of the wiring, rather than a failure of the alternator itself. However, wiring failures can lead directly to alternator failures. For example, the battery serves many purposes in an aircraft electrical system besides the obvious electricity source for starting and backup. The battery acts as a large capacitor, damping voltage surges and supporting the alternator. If the battery were ever to be disconnected from a running alternator, the diodes that allow the alternator to convert alternating current (AC) into direct current (DC) would fail immediately. Even a dead battery still serves this function. You can operate with a dead battery, but not a disconnected one. This is why careful inspection of all of the wires connected to the alternator is so important.
The importance of maintaining a battery in the electrical system loop is something we are currently dealing with in the design of the electrical system for our T–51D Mustang project here at SocialFlight. The Titan T–51D will be powered by a GM LS3 V8 automotive engine. With no magnetos, this engine needs electricity to power the computer, fire the sparkplugs, etc. The folks at Titan have designed redundancy into the system in the form of a backup battery. However, there are several options on how to configure the two batteries for regular use, backup, and testing. They key, relative to our discussion about alternators, is that switching between batteries should never leave the system in a state with no battery connected. As noted above, that would cause an instant failure of the alternator. So, we need a design that allows the pilot to always switch through a "both" setting while moving from one battery to the other. It's not too complicated, but it drives the point home about the importance of wiring.
Back to our inspection, the alternator itself should be fairly clean without significant carbon dust. If you note a lot of carbon, I would advise moving to the internal inspection even if the alternator is not yet due for it. It could mean excessive wear of the brushes, which we will cover when we move to the internal inspection and maintenance that should be accomplished every 500 hours or anytime that you suspect a problem. You can follow our T–51D Mustang build journey online. Until next time, happy flying!

