Capture color like a pro
D-Log unlocks your drone camera's potential
A specialized color mode once reserved for the most expensive cameras is available at your fingertips, and a little extra effort will upgrade your video from “nice” to “wow!”


When you first start flying your drone, you are probably focused on learning how to pilot the machine safely and avoid expensive crashes. Next, you start testing the waters by taking still photos and then dig into some video.
However, realizing your camera’s full potential depends on shooting in the right mode. Shooting with the default automatic settings is easy, but using the more advanced D-Log is the way to go for a refined result. Automatic modes play it safe by providing a reasonably average set of preprogrammed profiles for color, contrast, and other adjustments. D-Log and other manual settings allow you to capture more data, and that allows for more flexibility during editing, and ultimately a much nicer result.
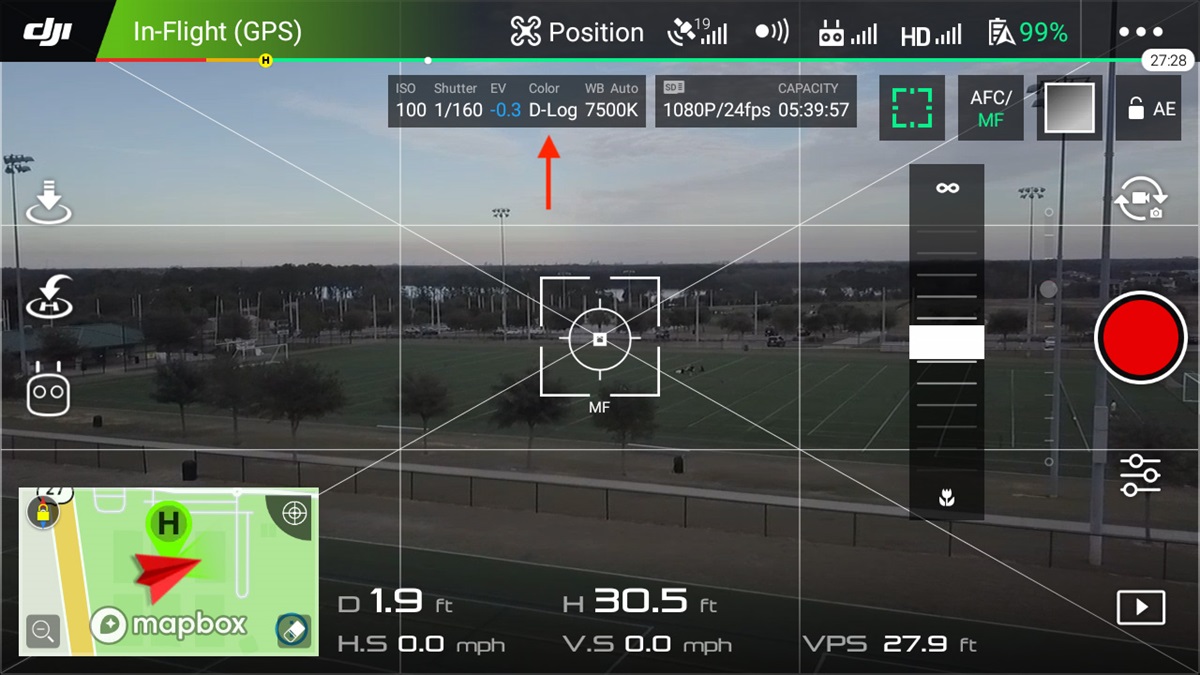
What is D-Log?
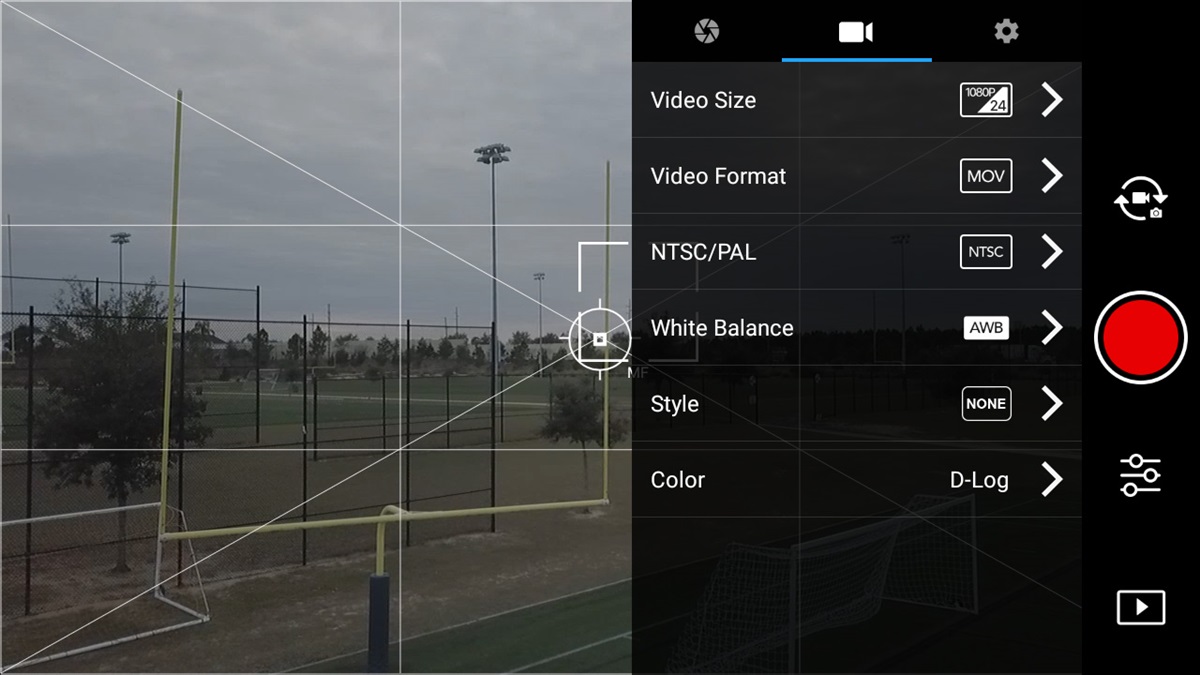
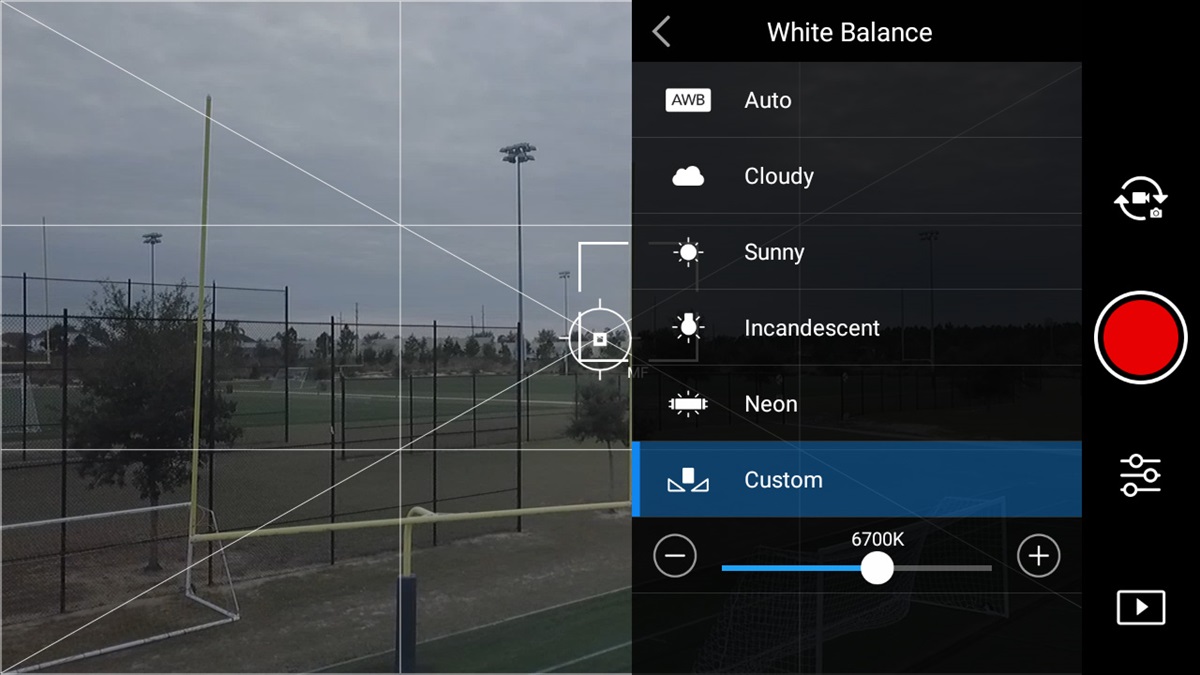
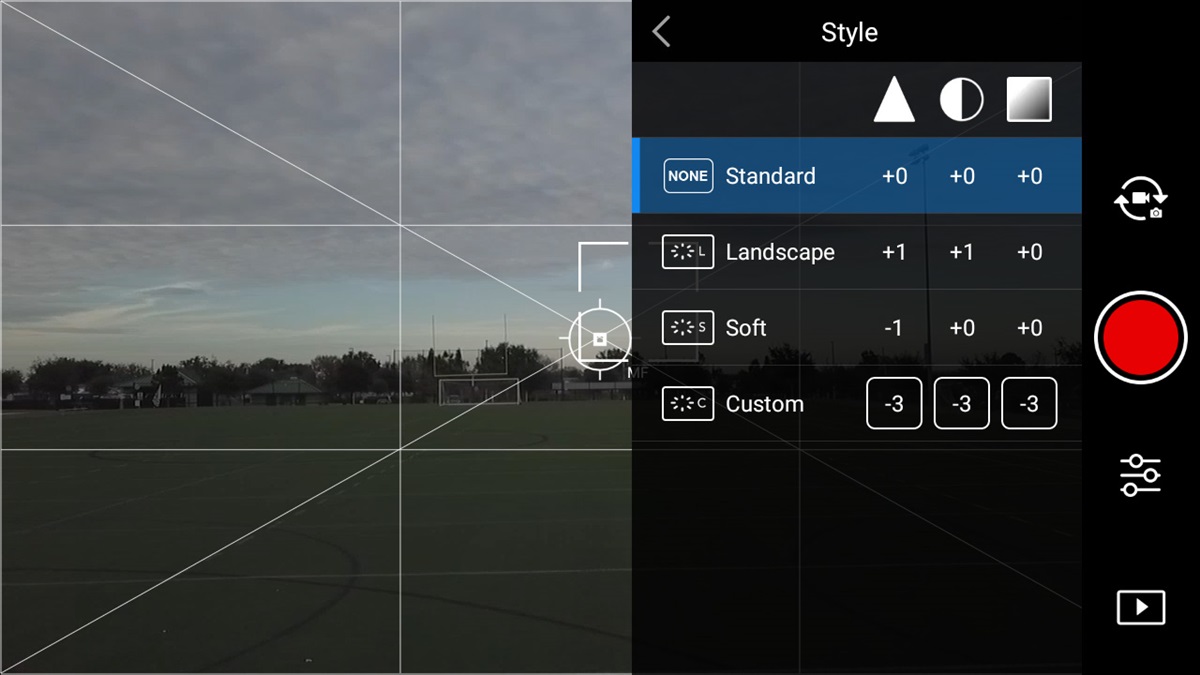
D-Log, much like its cousin D-Cinelike, is a logarithmic digital recording format designed to give you more data to work with in post-production editing. Think of it like this: The preset color profiles you are familiar with such as None, Vivid, True Color, and Black & White all are programmed to capture a specific set of tones to produce the chosen look. To achieve this, certain tones are minimized, or not even captured at all, but they do give you instant results with little or no need for color grading.
Log profiles, on the other hand, capture a much broader range of tones equally. The resulting image looks quite flat and dull before taking the extra steps in post-production processing. When first exploring D-Log shooting, it is easy to think this will look horrible when you see it on your screen and you may be tempted simply revert to a tried-and-true preset.
Remember the word "equal"? This is where it starts to make sense. All the tones and contrasts in your image have been captured pretty much equally. This means that no particular colors or contrast tones stand out from one another. You won’t see the blues of the sky popping out, or the greens of the grass and trees. Details may seem to be lost in the shadows of this somewhat boring, flat image. Not to worry—that’s what post production is for.
Not to be forgotten is D-Cinelike. While this option is similar to D-Log in that it captures a wider tonal range, it falls somewhere in between the preset profiles and the depths of D-Log. So why would you use one over the other? A good rule of thumb is that it depends on the context of your shot. Personally, if I am shooting in a high-contrast setting such as during a bright sunny Florida day with few clouds or a bright sky against darker ground, then I would choose D-Log. I want to be able to pull out the details from the darker areas and balance the brightness of the sky in post production. Now, if it were a shot with less contrast and more even lighting, D-Cinelike would be a good option.
While both D-Log and D-Cinelike give you a huge amount of data to work with in post production, D-Cinelike typically will require less work, if any at all. Many times you may be perfectly satisfied with the results from D-Cinelike right off the SD card, whereas you will rarely feel the same way with an untouched D-Log clip.
Post like a pro
Now that you have your shot downloaded from your SD card, it’s time to get to work in post production. This is where your creativity and experimenting can really make or break your final production. Don't worry, most editing software can be forgiving, allowing you to undo steps, so don’t be afraid to try new things!
Keep in mind that if you are working with very large files, particularly clips shot at 4K resolution, the demands on your computer will be quite heavy. You will need a fairly recent Mac or PC with plenty of memory to avoid stuttering and performance issues as you edit. I do the majority of my own editing on my iPad Pro using my Apple Pencil for precise control and the LumaFusion app. While iMovie is a nice basic option, LumaFusion offers a much more pro-level set of tools, and the results are worth every penny. Other great desktop applications include Final Cut Pro X and Adobe Premier, among others. They all have a bit of a learning curve, so be patient as you get rolling.
While we could devote many pages to the intricacies of each step of editing, for the sake of brevity let’s pay attention to some fundamentals. To take the mystery out of the histogram, remember that the left side with a value of 0 represents true black, while the far right at 100 represents true white. The spikes in between identify the strength of tones along the way. If you see too much spiking on the left, then your image is too dark, and vice-versa. The histogram is an excellent way to understand the overall tonal balance of your image.
Your software will also likely give you the option to adjust individual colors, saturation, highlights, shadows, and more. It’s best to move these in smaller increments to keep a subtle change without going overboard. Remember, D-Log has given you lots of data to work with; you might be surprised to see how much detail you can pull out of things like shadows that you initially thought were simply black blobs.
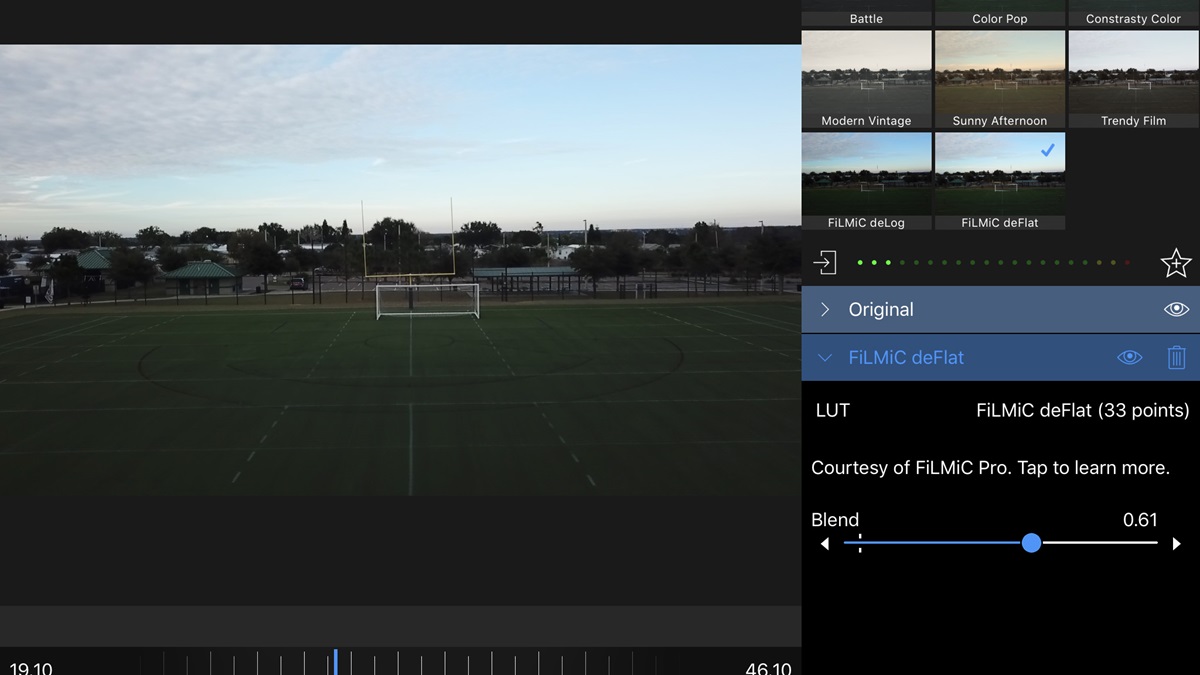
LUTs. Kind of a silly name, but LUTs can surely be your friend. LUT stands for "Look Up Table" and is a predefined set of adjustments that you can quickly apply for a desired effect. Further, you can normally adjust the blending of the LUT; that is, you can decide how strongly you want the LUT effect to be applied to your image. You can find different LUT presets online to install into your editing software to extend your color correction capabilities.
Look out Hollywood!
Feeling a little more like a pro? The Oscars may still be out of reach, but with a little practice and using the right tools and software, you will see the quality of your drone videos continue to improve. As always, you only get better with practice, so try to set aside one or two hours on a regular basis to shoot a different mix of scenes and then come home to explore the different editing options for each. Think about some scenes from your favorite movies and the way the colors and contrast look, and see if you can re-create some of those details in your own editing.
Before you know it, you will be turning out incredible, engaging videos with the cinematic depth and feel you never thought possible.
Most of all, have fun and fly safe!