Panel preflight
What are your avionics trying to tell you?

The next step of a GPS start-up process is usually the “half-left” CDI verification. If things are working normally, the airplane’s primary flight display should show a horizontal situation indicator (HSI) with the needle deflected halfway to the left. This step is easy to overlook or rush through, but it’s a useful test because it’s a direct indicator of HSI health.
Before leaving the GPS, look at the number of bars showing GPS satellite reception. Few or no bars can mean a variety of ills, most likely a faulty antenna or connection. Many checklists recommend turning the autopilot on and then disengaging it before flight. Doing so usually only takes a few seconds and verifies that autopilot is working, and that the pilot can disconnect the autopilot normally.
But there’s much more to this crucial test that can reveal far more information. Start with the elevator neutral, the ailerons centered, and the heading bug at the top of the HSI. Engage the autopilot in heading mode and turn the heading bug left and right. The ailerons should chase the bug in each direction. Then put the autopilot in Altitude Hold and apply forward pressure on the stick or yoke. The auto trim system should react to that downward pressure with nose-up trim. Then pull back gently on the stick or yoke and make sure the autopilot reacts with nose-down trim.

In addition to disengaging the autopilot with the red button normally used for that purpose, pilots can test whether operating the electric elevator trim switch or pulling the autopilot circuit breaker disconnects the autopilot.
Many autopilots give the left-seat pilot priority over their right-seat companions. Pilots can ensure this is the case by having the left-seat pilot override the right-seater’s elevator trim movement before takeoff. When either pilot moves the electric elevator trim switch, make sure the trim wheel or trim indicator moves with it.
Pushing the Takeoff/Go-Around button ought to raise the flight director command bars to a preset climb attitude, usually about 10 degrees. The TO/GA button also instantly disconnects the autopilot on most aircraft.
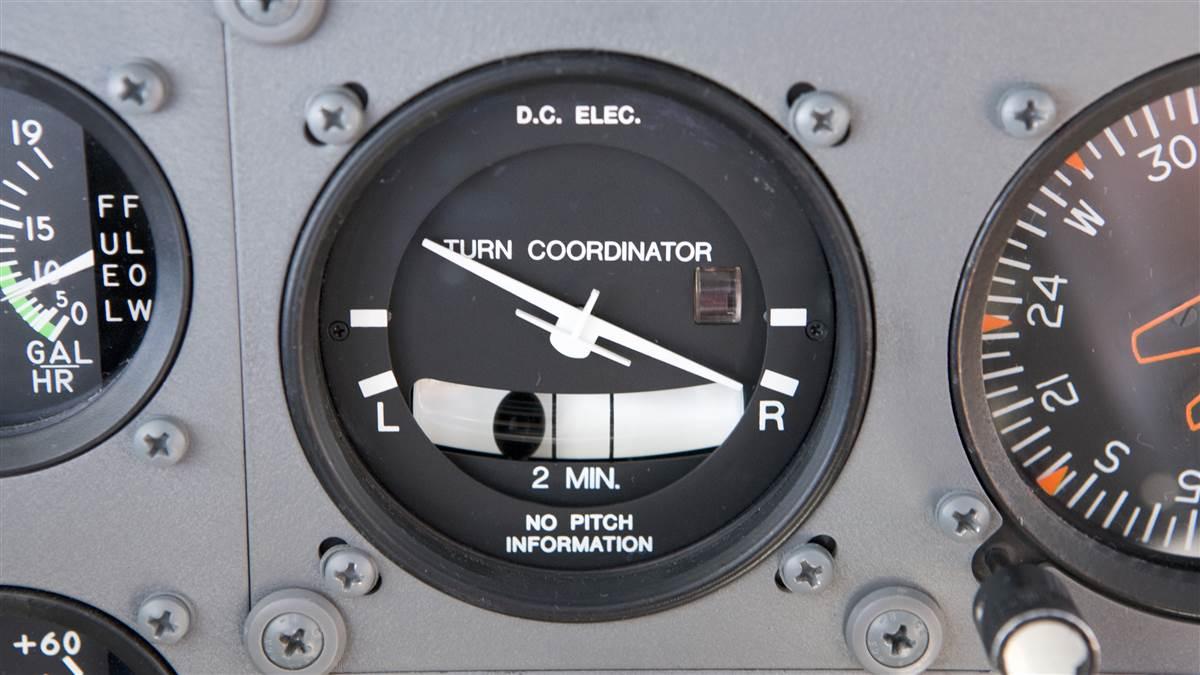
The electric turn coordinator was primarily used as a backup attitude indicator that could help pilots level the wings and maintain aircraft control in case the vacuum-powered attitude indicator failed. But lowly turn coordinators also provide essential data for driving analog attitude indicators.

To test the health of a turn coordinator, taxi in a serpentine path. The instrument should show a bank in the direction the airplane is turning. Also, listen. A failing turn coordinator sometimes growls or whines as it spins down—and that’s a worrisome sign that its incredibly fast-spinning internal gyros may be fading.
Test the audio panel by making sure the speaker works. It can be a helpful backup in case of a headset or jack failure.
Depress the push-to-talk switch, look for a “Transmit” indication on your radio, and listen for a click in your headset. Open the squelch on your com radio and listen for the hissing static that confirms the radio is working. Take a close look at your transponder and make sure its reply light is on and other functions are working.
These preflight tests don’t take very long and have the potential to avoid bewildering failures in the air. 
Special thanks to Randy Cox of WestAir Aviation in Easton, Maryland.


